Getting Naked with Roots

When I began gardening, I had many different fears of killing the plants I purchased. I did kill a handful each season. As I learned more about gardening, the seasonal number of untimely deaths in the garden declined. Fun Fact: I still kill a plant or two during a growing season. Always learning, right?

Fear of Harming Roots

My number one fear, and I’m still a tad anxious about it now, is harming the root structure of plants. When I first put the plant in the ground, or when I move the plant because I want it somewhere else, I worry about tearing and breaking important roots. I mean, those are a necessary part of the plant! So when I found out MSUE was having a Bare Root Plants class to accompany their Bare Root Plants Sale, I immediately signed up.

How are Bare Root Plants Different than Container-grown Plants?

Unlike container-grown plants, bare root plants are grown outside the greenhouse in fields. From the beginning their roots are closely acquainted with soil instead of container media. This allows the plant to grow strong, healthy roots without being restricted by the size of a container.
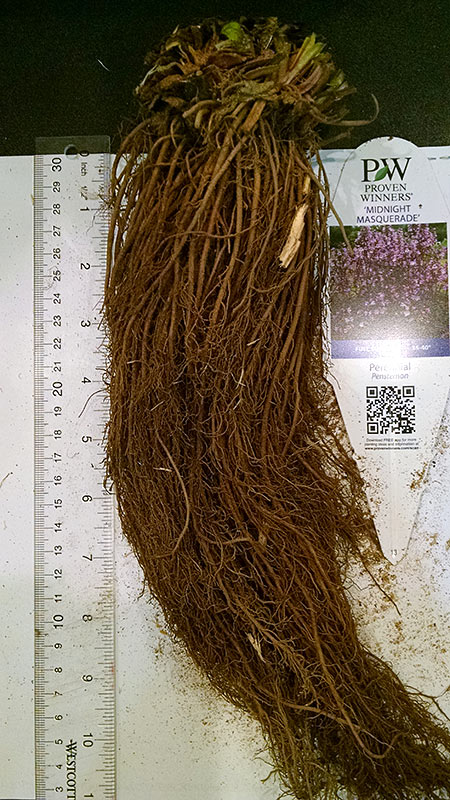
Penstemon Roots

The field grown plants are also already acclimated to the growing cycle (seasonal weather and temps) in the area. The autumn before being sold, the plants are lifted from the ground, the soil shaken off, and the plant carefully put into sawdust and cold storage. In the spring, there is no fear of frost nipping lush greenhouse-grown leaves. Bare root plants are naturally waking from dormancy.
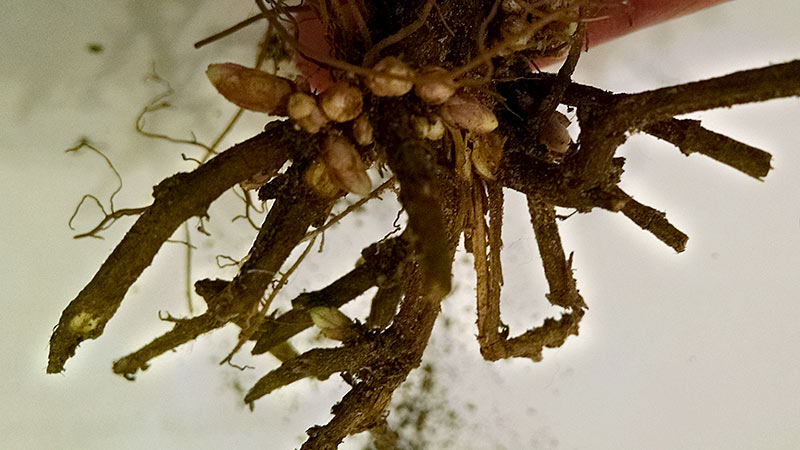
Nepeta Buds at Crown

Why Go Bare Root?

Beyond healthy plants with a leg up on getting a good establishment in your garden, bare root plants are:

  • Sustainable
  • Contain Little Extra Packaging
  • Earth Friendly
  • More Affordable, Saving a Gardener $$$ (Unless you are like this gardener and buy more plants with the $$$ you saved.)

How to Plant Bare Root Plants

  1. Soak Roots: When you receive your plant, if the roots are dry at all they can be soaked overnight. If the plant is left longer in the water, there is a point where it will begin to rot.
  2. Prepare Site: Loosen a broad, shallow area of soil where the plant will be placed. The plant roots will grow laterally as well as downward.
  3. Situate Roots: Place the plant in the prepared area, fanning out the roots. Some plants’ roots will naturally have held the shape they were growing in the field. Follow what you can observe from the plant instead of fighting it.
  4. Correct Depth: When the plant is brought out of storage, it will begin to bud. Make sure the buds set at soil level or slightly above as the plant will settle over time.
  5. Water: Water the plant in well. This will help the soil settle in around the roots.
  6. Mulch: Consider mulching around the plant to stop weed seed germination, retain moisture, and provide a buffer for the roots.

Post Planting Tasks for Bare Root Plants

Any plant placed in a garden will need some aid during its first season or two. It has a lot to do when becoming established. To help a plant along, you could give it a slow release fertilizer. The “slow release” is important as it makes nutrients available to the plant in gradual doses. Five to six months is good. Reading the label on the fertilizer package will help you identify a fertilizer with these traits.

If the plant immediately leafs out and Spring weather is still chilly, consider a liquid feed for the plant. Cool soil inhibits nitrogen uptake from soil to plant.

How Do Bare Root Plants Perform?

Planting, potting up, or healing in bare root plants soon after you bring them home is important. Leaving them in any plastic bag they were shipped in could cause mold as the plant respirates and moisture collects in the bag. Leaving them out could cause the roots to dry out.

If taken care of an planted correctly, our instructor said we can expect most of the plants to Sleep their first season, Creep their second season, and Leap their third.

Bare Roots for The Lot

Here are the bare root plants I selected for The Lot this season:

  • ‘Black Gamecock’ Louisiana Iris
  • ‘Midnight Masquerade’ Penstemon
  • ‘Lavender Bubbles’ Allium
  • ‘Purple Illusion’ Veronica
  • ‘Cat’s Pajamas’ Nepeta

Veggies 10.4

Today was the last round of planting for this season’s cool crops.

Cool Crops 2019 – 4th Planting

  • ( 9) Arugula
  • (4) Pak Choi ‘Baby Bok Choy’
  • (16) Radish ‘Early Scarlet Globe’
  • (5) Swiss Chard ‘Bright Lights’ – container

Sprouts are Growing

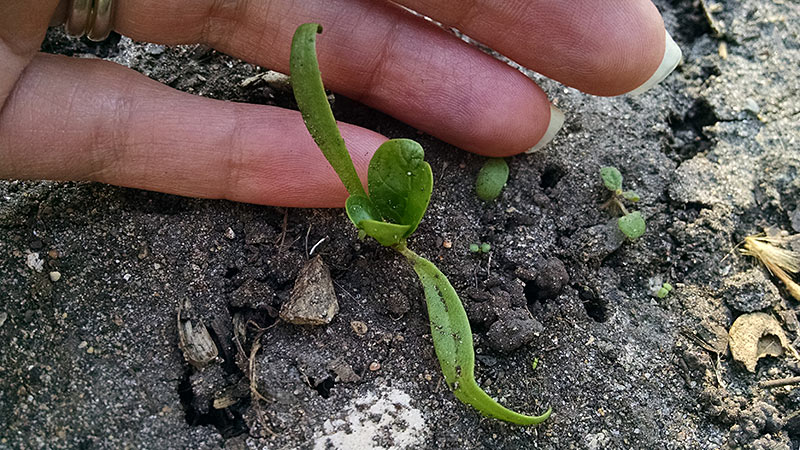
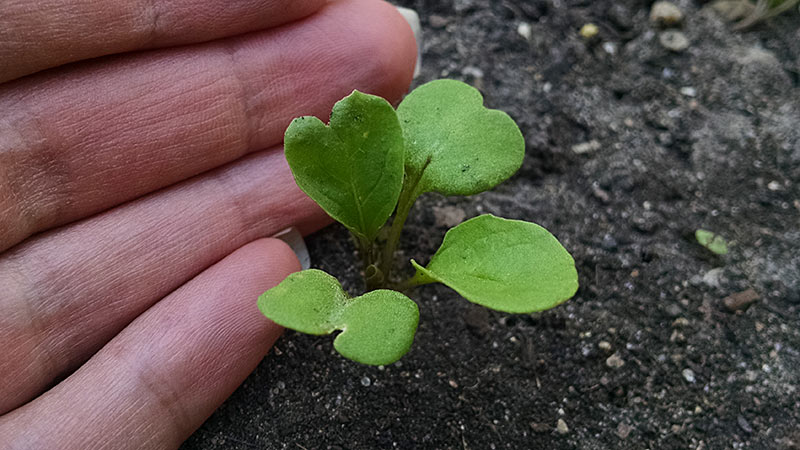
I snapped a few photos to show where some of the seedlings I planted on March 24th are right now. On the first two plants, you can see the cotyledon or “seed leaves”. These embryonic leaves are in charge of powering the plant until the “true leaves” of the plant emerge.

This first shot is of some spinach. The spinach seedlings always look like they have mustaches to me.

Spinach Seedling and Hand

Here is an arugula seedlings.

Arugula Seedling and Hand

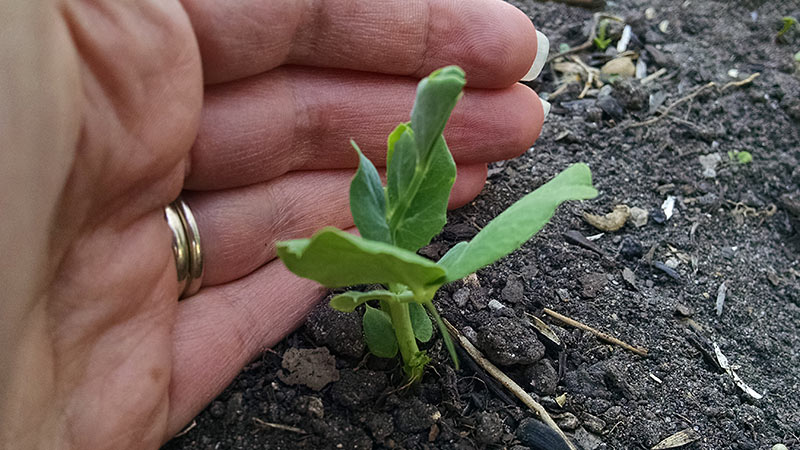
And finally, here’s a shot of a sugar pea plant.

Pea Seedling and Hand

Fix for a Tipsy Greenhouse

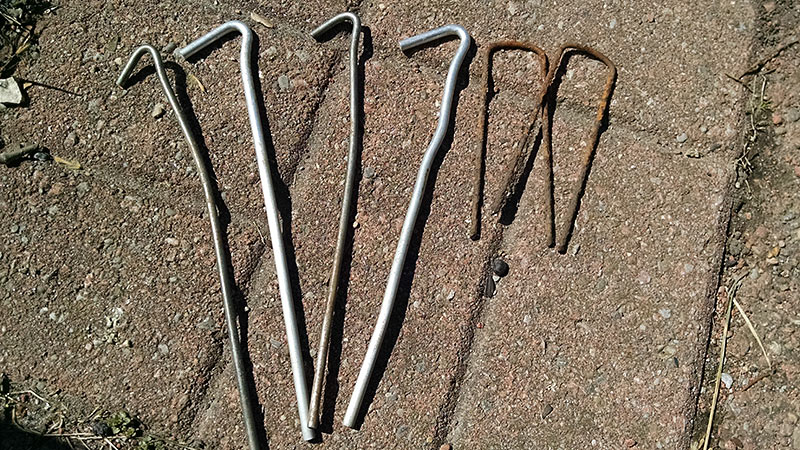
I think I may have found a solution for the lightweight greenhouse that had been blown over by Spring winds. We switched from landscape staples (on the right) to using our tent stakes (on the left). Cross your fingers for us.

Tent Stakes and Landscape Pins

Zone Creeper

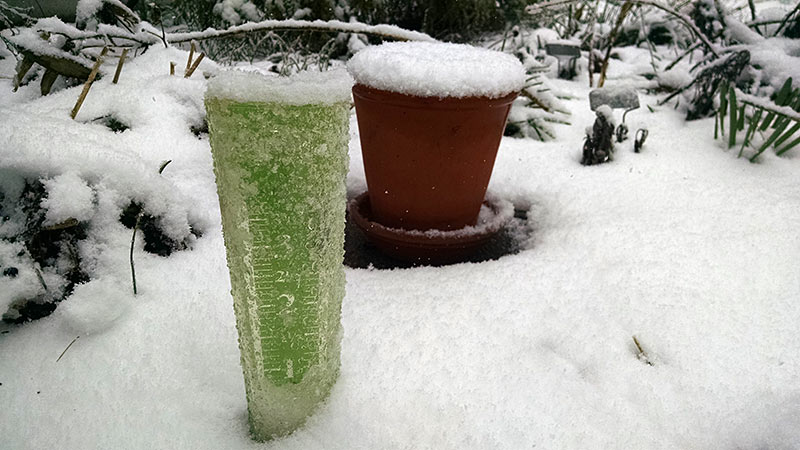
This time of the season can be frustrating for gardeners in USDA Zone 6a and lower. We all just want to be outside in the garden. Weather doesn’t cooperate. After a week or so of pleasant temperatures and emerging spring flowers, this past Monday we wake up to something like this.

If you’re having a hard time reading the rain gauge, let me help. It’s between 1/2″ Disappointed and 3/4″ Quite Disappointed. This has happened most years so far on the Lot, but we continue to start seeds for cold crops around the end of March and beginning of April when there is still a good chance of a frost.

Extending the Growing Season

Depending on location, there are an estimated number of frost free days a gardener has to work with to grow crops. If we stuck to only frost free dates, our growing season isn’t long enough to grow some of the veggies we like to nom nom. Even though cool crops like greens and radishes have a certain amount of frost tolerance, we still use a few gardening techniques to get a jump on the growing season in the Spring. The same practices can also extend the season later into the Fall.

Hoop Houses for Raised Beds

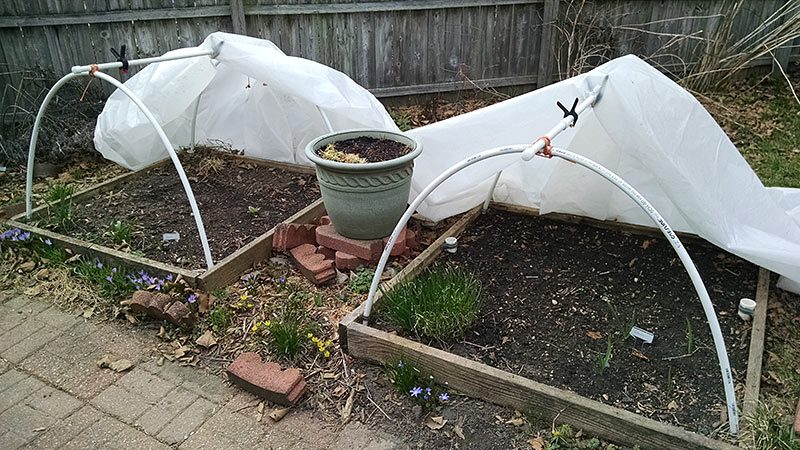
Hoop Houses on Raised Beds

These are the two little hoop houses I constructed in the Spring of 2019. Metal brackets, PVC pipe, and heavy mil plastic gave me a very basic shelter to protect seedlings against frost. If I see evening temperatures will dip below freezing, I can pull the plastic over the frames and secure it with landscaping bricks and clamps. The following morning as temps warm again, I pull back the plastic to make sure the little seedlings don’t get toasted from the heat building up inside the covered hoops.

Pop-Up Greenhouse

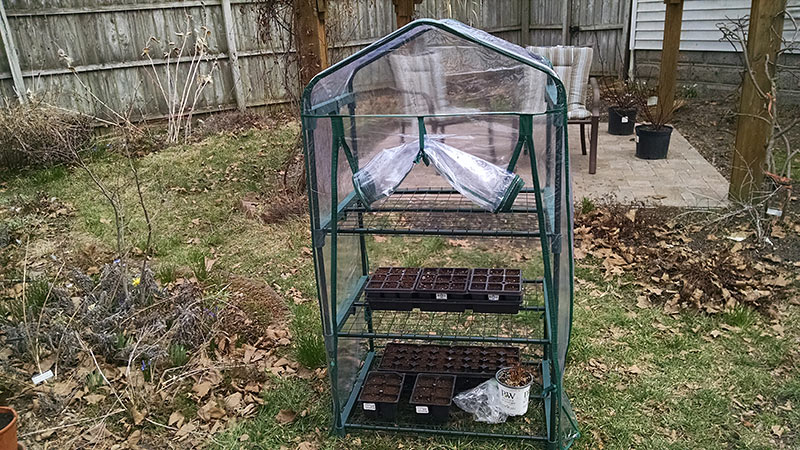
One of this season’s experiments is the purchase of a temporary greenhouse. The Lot is on the smaller scale of garden plots, so a permanent greenhouse isn’t in the cards for the Other Half and I. Another option was a cold frame, but most we had seen were heavy and awkward to move. Here’s the greenhouse we picked out.

Temporary Greenhouse

Our Spring season is often wet and can be quite cold. Some seeds require a minimum temperature to germinate, so if dropped into the ground now they may end up rotting. With this little greenhouse, I’m hoping to start some flower seeds earlier than I could plant the seeds directly into the garden. This is all an experiment; I have no idea how it will pan out.

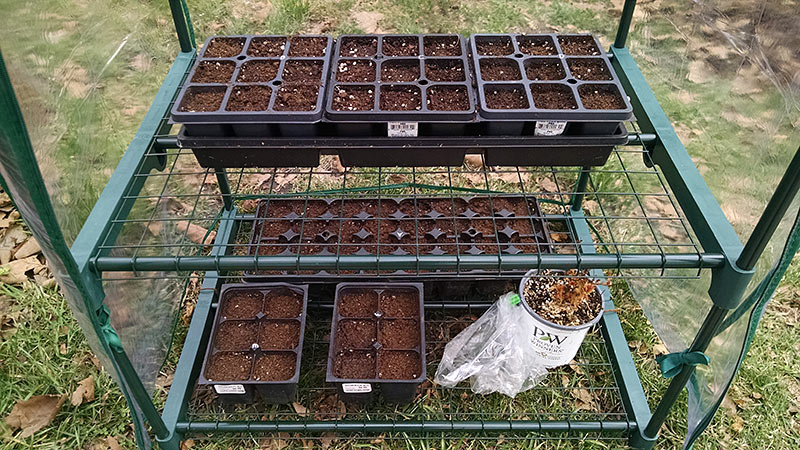
Seed Trays

The only problem so far as I mentioned in an earlier post, is the entire setup was knocked over by heavy winds. These are the trays all nicely planted the first time. I used landscape fabric staples to secure the left and right sides of the frame to the ground, but it didn’t hold. I think the solution is to use rope and tent stakes to secure all fours sides of the bottom of the structure to the ground.

How to Creep

There are other methods of extending your growing season. The above are what we are using on the Lot. Michigan State University Extension has a nice overview article to get you started.