Category Archives: future plants

Local Open Garden 1.1

This season, the Master Gardener Association for our area reinstated “Open Garden” visits. Members can spend an evening together while touring a peer’s garden. Carol DeVries’s garden was the first in a series of visits scheduled throughout the summer and contained a lower garden at the roadside, a small veggie patch, and both sun and shade perennial beds. The property is situated in a very rural area about a 20 minute drive from our city.

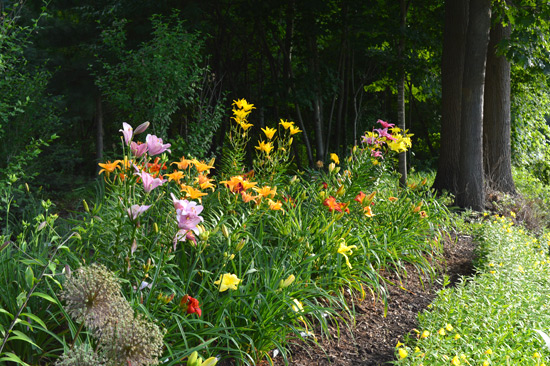
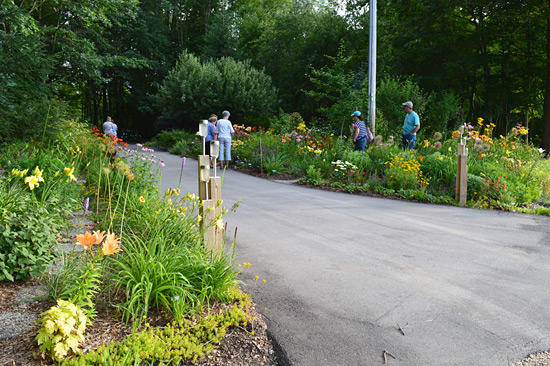
When approaching the drive, we were immediately greeted by a cast of colorful lilies.
071315-DSC_0046

071315-DSC_0047

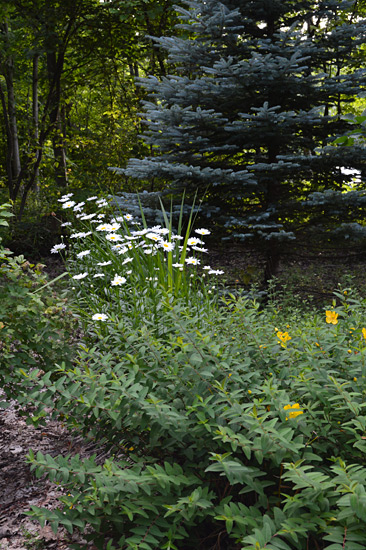
Some other perennials were mixed in as well. I like these daisies against the blue of the evergreen.
071315-DSC_0053

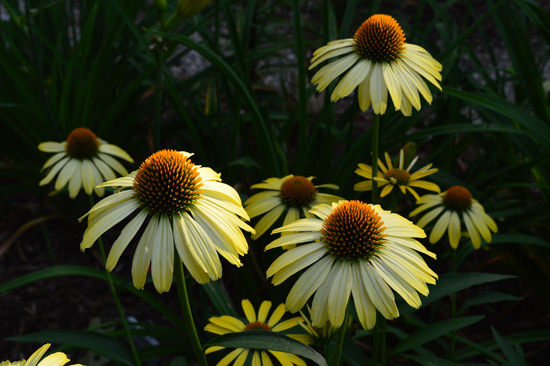
These lovely, hybrid coneflowers are Echinacea ‘Cleopatra.’ They were glowing with the early evening sunlight.
071315-DSC_0050

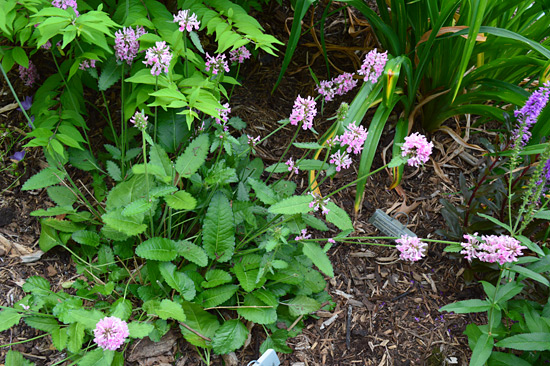
This plant is Stachys officinalis ‘Pink Cotton Candy.’ Whenever I see blooms atop thin stems in a dense planting, it seems to me the flowers are floating.
071315-DSC_0048

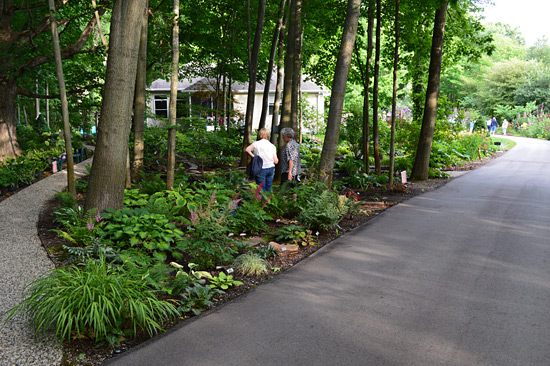
Here is a snapshot walking up the driveway from the lower garden to the home. Off to the left is an extensive shade garden while straight ahead are the full sun perennials.
071315-DSC_0055

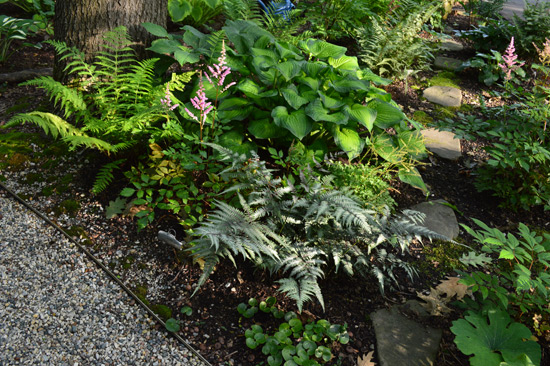
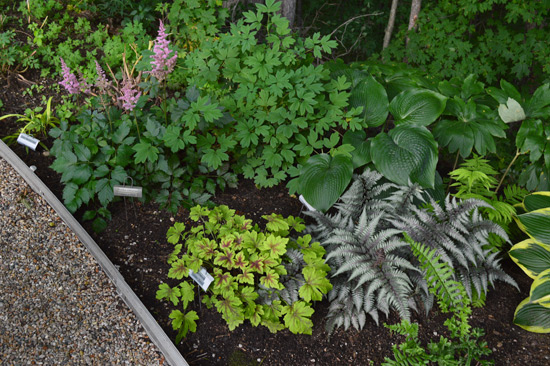
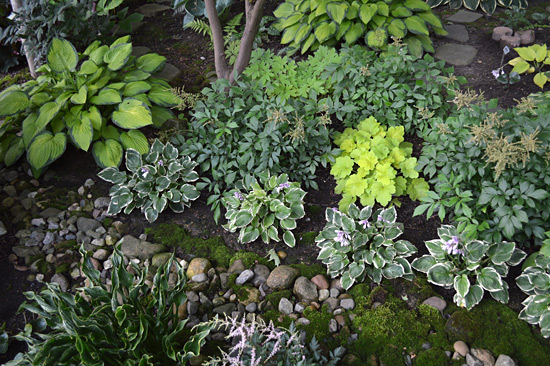
A gravel path curved through the left area of the shade garden while stepping stones bridged the space between the drive and walking path. The main mix of plants throughout this shade bed was a variety of ferns, hosta, and astilbe.
071315-DSC_0057

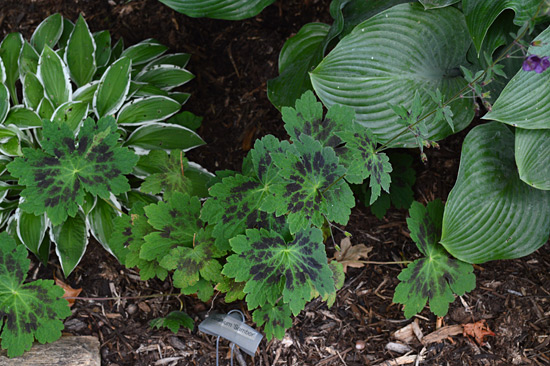
This Geranium ‘Sambor’ had uber cool foliage.
071315-DSC_0059

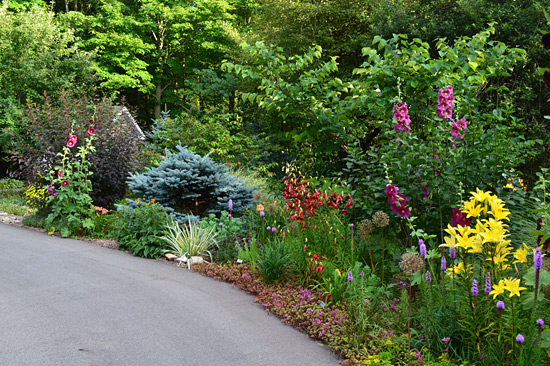
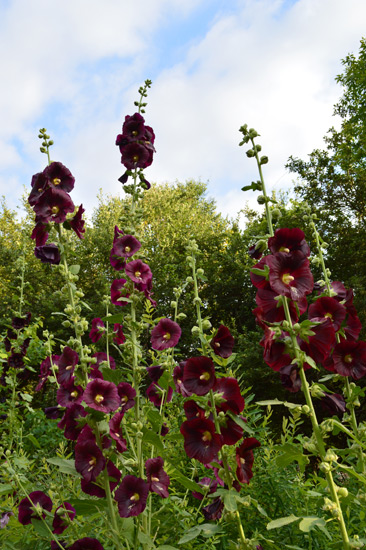
This is an overall shot of the full sun bed off to the right of the top of the driveway. The hollyhocks were a nice touch to give the bed some height.
071315-DSC_0064

The color was fantastic. Look at the contrast of those yellow blooms and dark stems. I love how the fine texture of the grass in the background ties in with the fine-leaf foliage of the purple Liatris in front as well.

071315-DSC_0068

Here is a closer shot of the blood red, reach-for-the-sky hollyhock. I had given up growing hollyhock on the Lot because of weevils and rust. However, after seeing these I may give it another try next year.
071315-DSC_0065

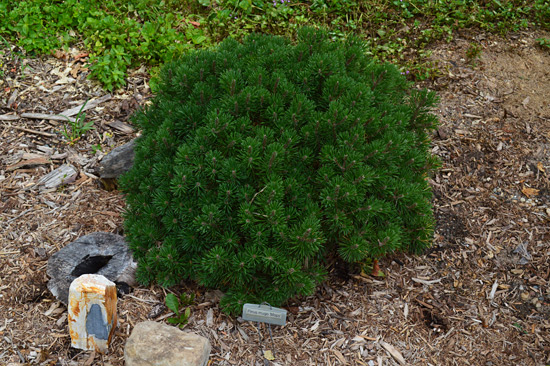
Here is another cuddly conifer, this one being a Pinus mugo ‘Mops.’
071315-DSC_0069

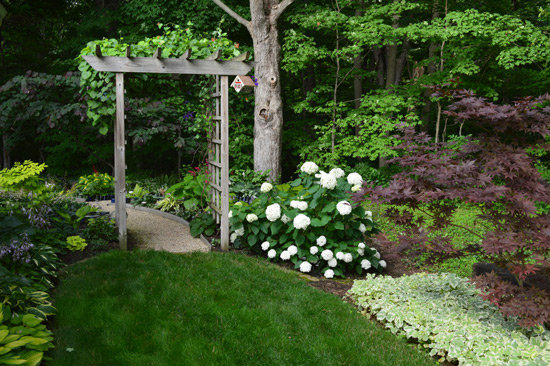
The garden then blended back into a shade environment as we passed behind the house.
071315-DSC_0071

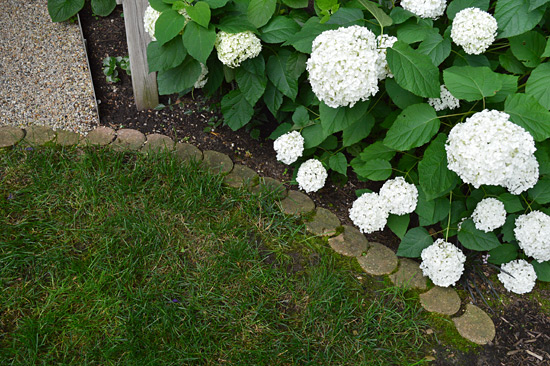
I took a lot of “photo notes” on how the different garden beds were edged. We have still to decide how to edge the beds on the Lot. This garden had a great combination of edging techniques, exemplifying all edging materials do not need to exactly match.
071315-DSC_0072

071315-DSC_0076

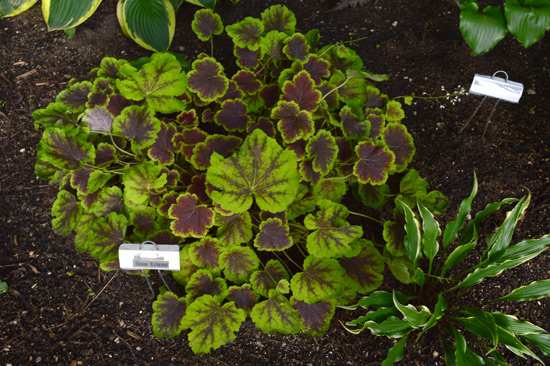
Here is a shot of a Heucheralla ‘Solar Eclipse.’ Variegation, silver, and chartreuse foliage all popped in the shade garden.
071315-DSC_0074

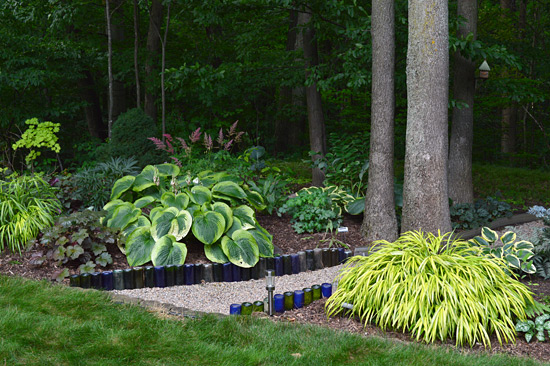
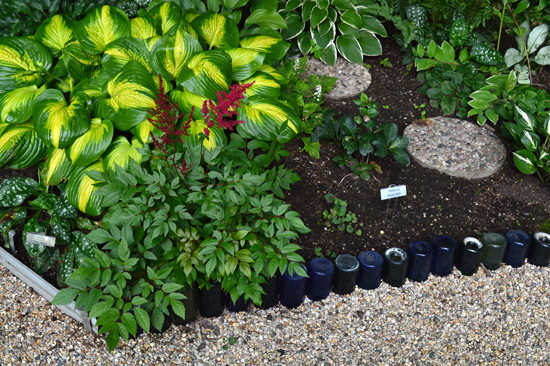
The blue glass here are upturned and buried wine bottles. Many jokes were made about volunteering to help the gardener empty more bottles if the need should ever arise.
071315-DSC_0073

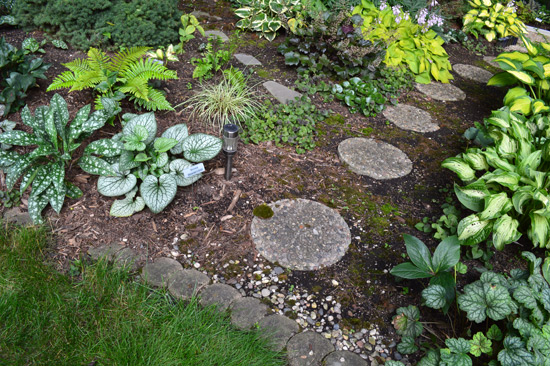
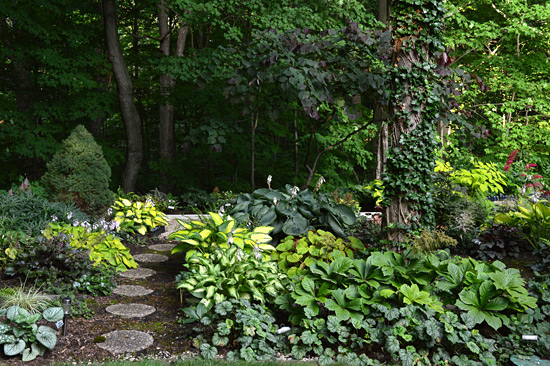
I really like this idea of a stepping stone path through a garden bed instead of an edged path. This technique was used several times throughout this garden. I think I’ll utilize it for the backyard garden on the Lot.
071315-DSC_0077

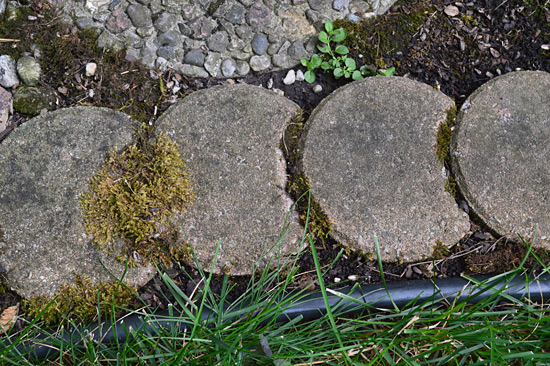
Here these stones are not only decorative, but offer a solid, raise edge for the mower wheel when the lawn is cut. Since it was designed this way, there is no need to go around raised edging and trim with the weed whacker.
071315-DSC_0078

Here is a macro shot of the garden bed with those stepping stones from above.
071315-DSC_0079

071315-DSC_0081

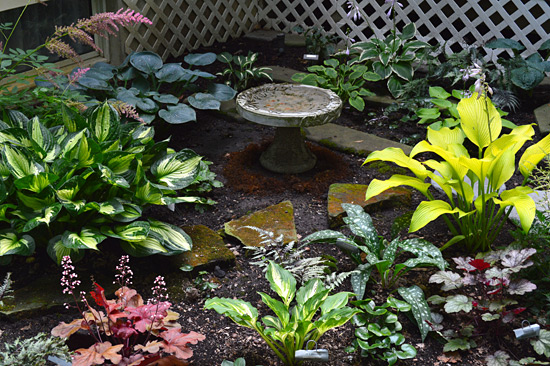
This little corner was nestled beside and in a shady nook of the house.
071315-DSC_0082

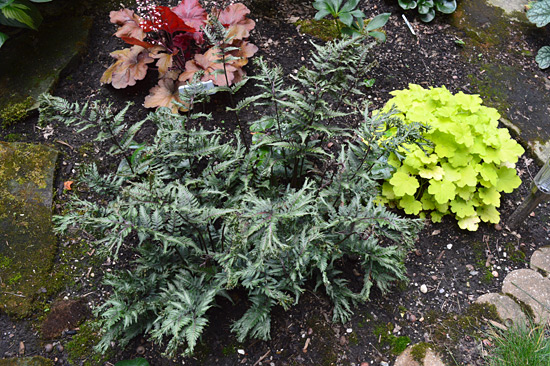
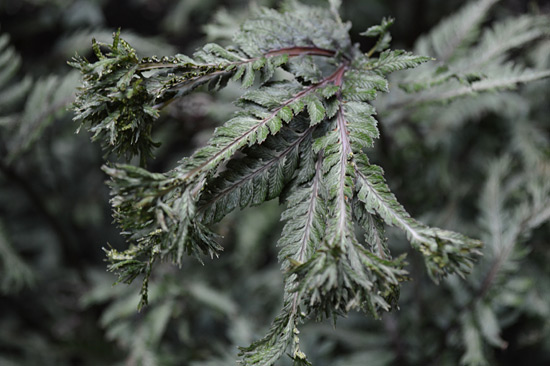
And then I saw this fern. Oh my goodness it was cool. The fronds looked like they had tassels.
071315-DSC_0083

Here’s a closer shot. How cool is that?! I am kicking myself now because I did not get the name of the fern from the gardener.
071315-DSC_0084

071315-DSC_0086

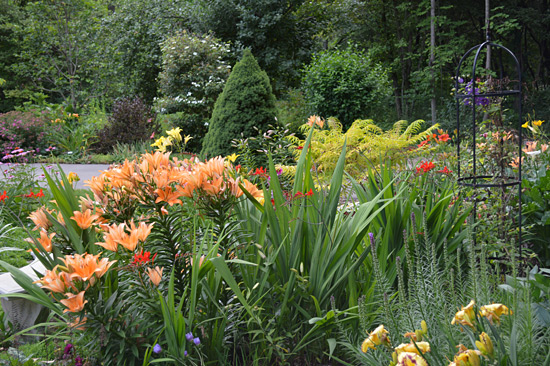
Coming around the out of the shade was this small, sunny bed right in front of the house. Here there were more lilies in bloom and a little veggie patch.
071315-DSC_0089

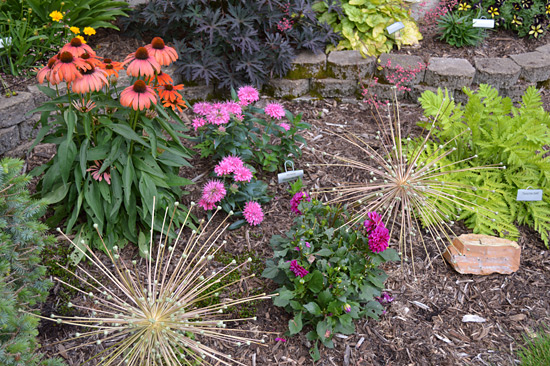
Aren’t these Alium seed heads like little pieces of sculpture? I like the little tier of stones in the backdrop as well.
071315-DSC_0090

That dark foliage and these colors? *swoons*
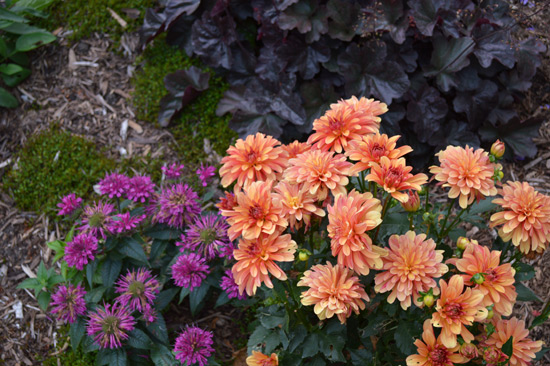
071315-DSC_0091

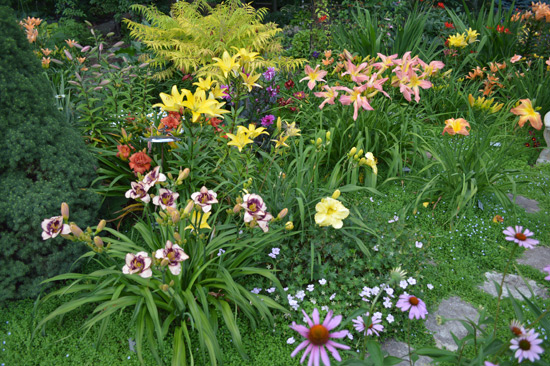
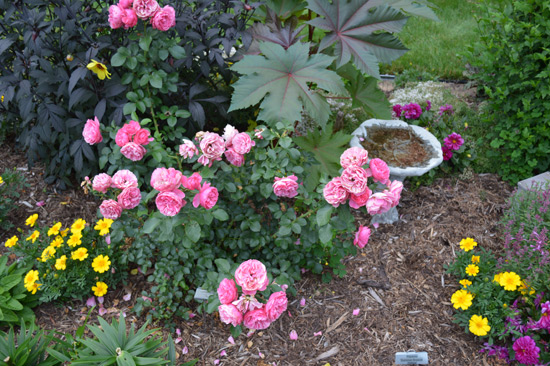
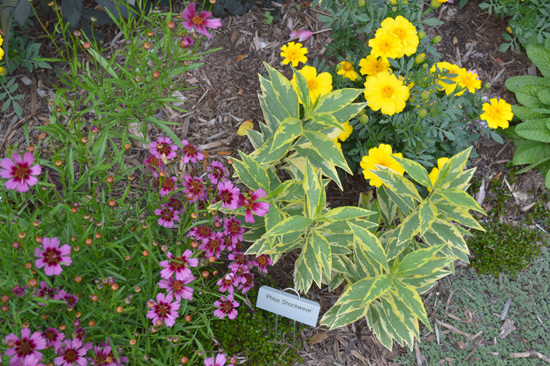
Like its sister bed across the drive, this sunny perennial bed was also a riot of bright colors.
071315-DSC_0092

071315-DSC_0093

071315-DSC_0094

I’m loving the idea of these Open Garden visits. There are so many great, inspirational ideas and the resident gardener is on hand to ask questions. Two more to go this summer!
Bees?

This past March, I was able to attend a Smart Gardening conference through the MSU Extensions office. Dr. Rufus Isaacs, small fruit entomologist and professor at MSU, gave a presentation about bees as important pollinators in orchards and gardens. He shared with us some ideas on why the little guys are so helpful and how we can make them feel more welcome in our gardens.

1. Feed Them

Bees pollinate 80% of plant species that provide us and other wildlife with food. Growing plants in the garden to feed the bees introduces biodiversity into the garden, improves crop productions, slows the bee population decline, and provides wildlife to observe and enjoy.

When selecting garden plants for bees, try first browsing through native plants. Also, Dr. Isaacs suggested to pick a variety of plants that bloom throughout the growing season so the bees always have a food source available. For Michigan, there are native plants resources provided free of cost at www.nativeplants.msu.edu. I used the site to look up some natives to fit in the Lot’s USDA Hardiness Zone 6a. Here are some I’m going to try:

  • Golden Alexanders (Zizia aurea) – blooms mid May-June
  • Culver’s Root (Veronicastrum virginicum) – blooms July-Sept
  • Great Blue Lobelia (Lobelia siphilitica) – blooms end of July into Oct
  • Smooth Aster (Symphyotrichum laeve (Aster laevis)) – blooms Sept-Oct

2. House Them

One thing I didn’t realize before the conference is bees are both hive and solitary creatures. I am most familiar with the Honey Bee brought over from Europe in the 1600s to provide wax and honey. Pooh Bear had taught me these bees live together in hives and produce delicious golden honey. But many types of bees are actually hard-working, single mothers. After mating, they build individual nests often located in the ground. The nest cells are stocked with pollen and are sealed to protect the bee larvae when it hatches. Here are a few ways to offer housing for the garden’s bees:

  • Within the garden, leave an area of bare ground available for nesting. An ideal place would be one that is out of the way of high foot traffic and can remain undisturbed.
  • Create a nesting tube or bee house. There are many instructional videos online for this. Just remember to not use treated lumber for construction.
  • Build a bee spiral (or herb spiral) into the landscape design. This gradually elevated bed provides soil and cracks between bricks or stones that are ideal for nesting. Bonus, it’s a type of modified garden bed, so you can use it grow plants pollinators enjoy.
  • Grow plants bees can use as nesting material.

3. Don’t Kill Them

Seems like a pretty obvious tip, right? However, some homeowners are afraid of bees and try to spray for them. Other gardeners go crazy with insecticides because a prized plant is being eaten by a pest. Always be cautious when spraying chemicals in the garden. Just because the insecticide is advertised to kill one type of harmful insect does not prevent it from also killing pollinators like bees and natural predators like other beneficial insects and birds. We try to avoid the use of insecticides, or any other type of pesticide, on the Lot.

Bees are not naturally aggressive and only sting when their nests are endangered or someone is actively trying to swat them from the sky. If a ground nest takes form near something like a swingset, a very simple solution is to move the swingset. If that is not possible, try making a much more attractive (and less traveled) area of the garden available for the bees.

Additional Info

More info on bees and other pollinators can be found at:
Pollinator Partnership
MSU Native Plants and Ecosystem Resources

Pruning, Containers and Guerillas

Pruning Mission Accomplished

Last weekend, Miss A stopped by our lot to help me with some pruning. After doing the research on butterfly bushes, I took a crack at trimming ours by myself. I think it turned out okay. Here are some “before” and “after” shots.

However, when it came to pruning the dappled willow and a few other multi-stem shrubs, I called Miss A. She has much more experience under her belt with gardening than I do. She patiently walked me through the process, answering my constant questions. Even my cringes when the little handsaw came out were politely tolerated.

Here’s what I learned.
  • Keep up on your pruning! Growth neglected last year gave us some difficulty this year. Plus, constant upkeep gives more control over the shaping of the tree or shrub.
  • Remove older canes near the base. This was important on the dappled willow since the new canes are usually the shoots that have the prettier, dappled leaves and red bark. In most instances, removing the older canes will lower the overall height of the shrub. Plus, it will thin out the interior of the shrub, allowing more light in and encouraging new growth.
  • Afterward, we inspected how the branches of the shrub were growing. In some areas, the branches had crossed. This leads to the branches rubbing together, opening wounds and possibly introducing disease to the shrub. So, I had a few hard choices to make about which branches would stay and which branches would go.
  • The next step allows more fine-tuning of the shrubs height and shape. Miss A and I clipped off any winter damage we found and any longer branches seeming out of place. She said this is also the point we could lower the shrub further in height if desired.
  • Overall, when pruning a shrub, be sure the cuts are at an angle. The cut should be made between the length of the branch to be removed and the “collar” area where the branch meets the shrub. This area will allow for the cut to properly heal.
Bulbs Sprouting Indoors
Remember the bulbs I had forgotten about and tossed in some containers? Here’s an update.

Three of the five containers have healthy bulbs growing in them. As my better half commented of the other two, “if these haven’t shown activity yet, I’m not sure we’ll be seeing anything from them.” I think I may be leaning toward agreeing with him, though I think I’ll give the containers a bit more time. After all, I’m not in need of the pots right now anyway.
Notes for This Fall
This picture is from Miss A’s cottage garden. My better half expressed genuine affection toward these little guys. Note to self: order snowdrops for next spring.

Guerilla What?!
This is just fantastic. I’ll be looking around on the community boards to see if there is a chapter near us.

Crocus-time Continues
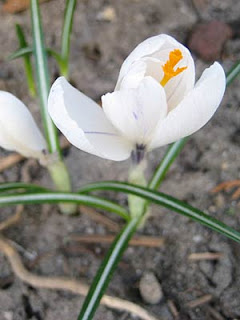
Hoorah! We also have purple AND white in the sidewalk bed.